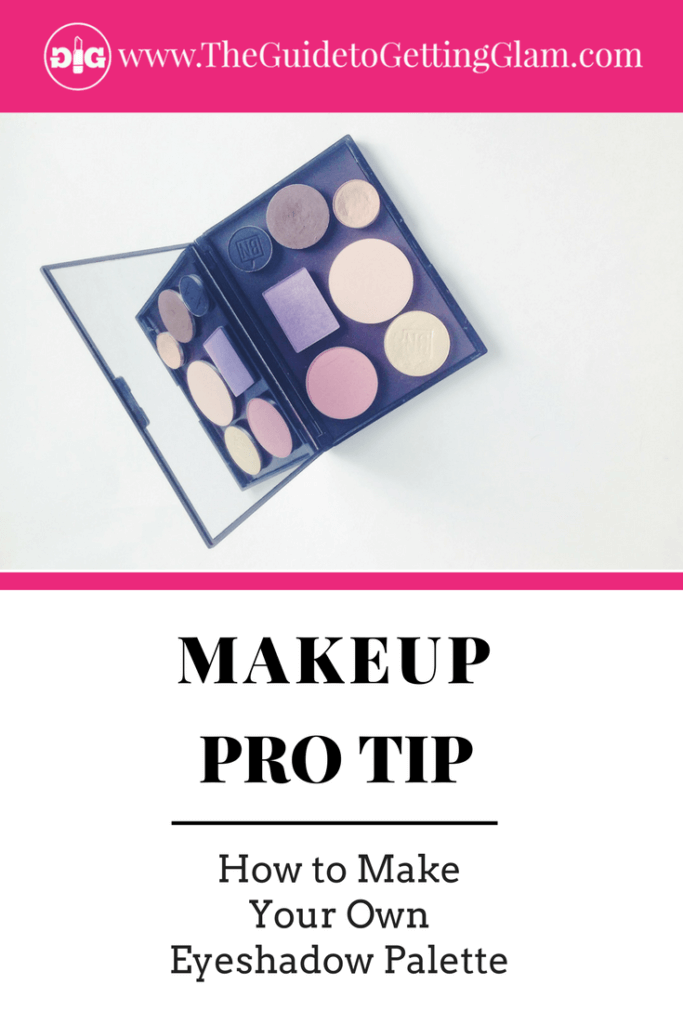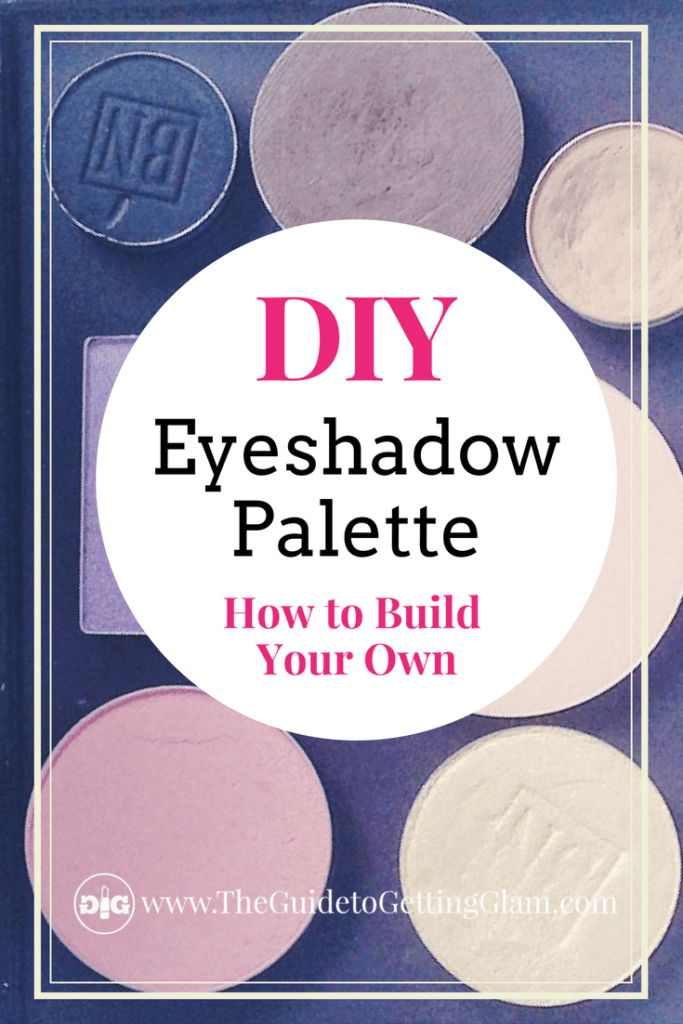
So you’ve got lots of eyeshadow pots lying around, cluttering your makeup drawer. Wouldn’t it be great if you could make your own eyeshadow palette and organize your stash? You can! Today I’m going to show you an easy way to depot your eyeshadows and make your own eyeshadow palette.

This post contains affiliate links.
So why should you make your own eyeshadow palette? Well, there are several reasons why and here are just a few…
It reduces makeup clutter. If you are into spring cleaning like me, you know how good it feels to eliminate unnecessary clutter from your life. (In Create Your Makeup Capsule Wardrobe, I go into further detail about reducing makeup clutter, and show you ways to simplify your morning makeup routine and create your signature look!)
It saves you time. Would’t it be great to save time getting ready in the morning by having all of your eyeshadows together in one neat little compact? No more digging around in your makeup drawer to find the right one. You can find things easier because you have made a custom eyshadow palette that holds them all together.
It’s better for travel. When I want to be out the door, I can just grab my basic eyeshadow palette and know that I have everything where I need it.
It Saves Money. Ah, yes, I saved the big daddy reason for last. I know how tempting it is to buy the newest eyeshadow palette from your favorite brand because they are so pretty! But, most likely, there will be colors in those palettes that you use to the bottom, and colors that you never even touch. If you make your own eyeshadow palette, you can customize it with whatever colors you want, and will really actually use.
Are you loving these tips? Check out How to Save Money on Lipstick, where I teach you to make your own lipstick palette!
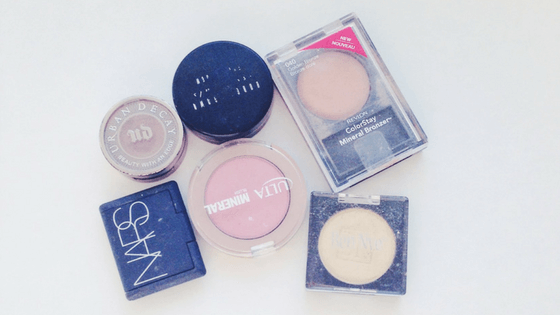
So let’s get started! Here are my tips to create your own eyeshadow palette. I have done this many times over the years and refined my process. But, a word of warning here, don’t try this the first time with your favorite eyeshadows. You might have some trial and error and you don’t want to ruin your best eyeshadow friend before you feel comfortable with what you are doing. Start with ones that you were going to toss anyway.
I have had success doing this trick with eyeshadows from many different brands over the years. The only ones that have not worked are baked, dome shaped eyeshadows and blush. So, if you can see a metal outer circle surrounding your potted eyeshadow, then this trick will probably work.
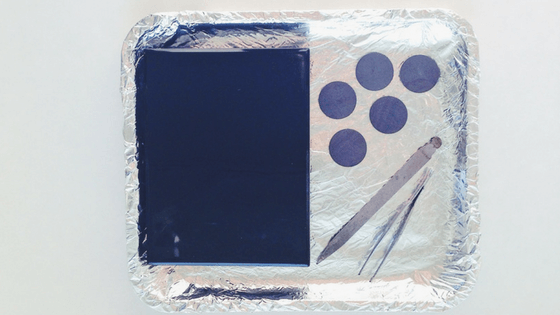
But, If you have a a mineral blush or eyeshadow, or anything that is not shaped flat in your compact, this probably won’t work. You will see in my original photo above a mineral bronzer that I use with this shape. You will not see it in the future photos because I simply could not get the bronzer to peel out of the compact. The dome shape prevented me from sliding my nail file underneath the metal tin.
Here are the tools you will need:
- Single eyeshadow pots.
- An oven or toaster oven.
- A metal baking sheet and pot holder.
- An empty eyeshadow palette: I recommend Juvitus Magnetic Makeup Palette.
- Magnets for the bottom of your eyeshadow. I use Self Adhesive Magnets from Amazon.
- Metallic nail file.
Step One
Preset oven (or toaster oven) to 250 degrees. The key to removing the eyeshadows from the pan is to use a low heat. Low heat is key because we don’t want to cook your eyeshadow! We only want to loosen the glue that adheres the metal eyeshadow tin to your plastic compact.
Slow and low is the rule here. I have ruined a couple of my eyeshadows because I was in a hurry and wanted to experiment using a higher heat. It definitely changed the texture of the shadows that way, and made them unusable.
*Lots of great tips right? Don’t worry, I created a FREE Make Your Own Eyeshadow Palette Cheat Sheet that you can download and save for later.
Step Two
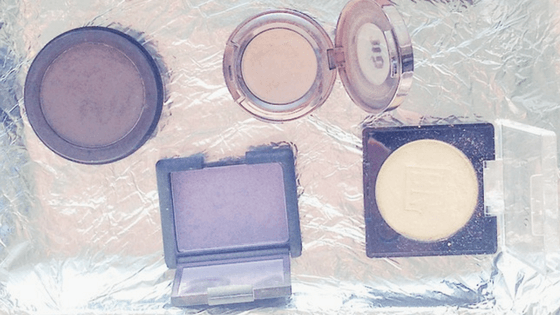
Layer your baking sheet with aluminum foil. We are putting non- food safe plastic on your baking sheets, so better safe than sorry. Place your eyeshadows on the sheet with the tops flipped all the way open. You want to make sure that the eyeshadow tops are open so they don’t melt back on top of your compacts when heated.
Step Three
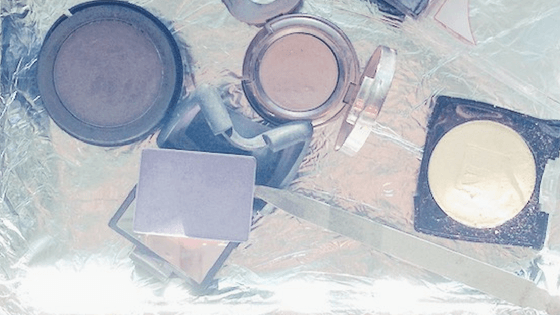
Heat the eyeshadows for about 5 minutes, then check. I like to check the eyeshadows about every 5 minutes or so. Some will loosen right away and some will take a few minutes longer. As soon as you see the metal tin peel away from the plastic, then they are ready to be removed from the plastic containers.
\
Step Four
Remove the pan from the oven with your oven mitt. Let them cool a few minutes. Slide the metal file underneath the metal tin and peel it up. Careful, it’s hot! The residual glue underneath the eyeshadow tin might stick to another surface if you remove it now, so just peel it up and then let it cool a bit more.

As soon as you can handle the tin safely, then add the self-adhesive magnet to the bottom of each eyeshadow tin. There may be residual glue underneath the metal tin already. But that’s okay, just put the magnet on top. You don’t want to put the eyeshadow pan directly onto your new palette because the glue would stick the eyeshadow to your new palette. Then you wouldn’t be able to peel it up again when you need to replace your eyeshadow.
Step Five
Peel up the stickered label from the bottom of your old eyeshadow pot and place it on top of the magnet. The magnet will still work, but this helps you to remember what brand and color of eyeshadow it was. Then, stick the new magnets to your empty eyeshadow palette and you viola! You have learned to make an eyeshadow palette of your own makeup that you can customize however you like.

Extra Tips
*You can add other colors to your custom eyeshadow palette as well. I use the Juvitus Palette to create my own travel kit. The reason I like this palette is because it is not pre-segmented. Its open container allows me to use different brands and sizes of makeup, and to cram as many shadows into it as I can. I add my favorite blush, eyebrow powder and cream eyeliner inside, so it all fits nicely all together.
*Many of the cosmetics companies like MAC Cosmetics, Nars, Buxom, and Anastasia Beverly Hills sell their eyeshadows in single refill pans. These refill eyeshadows are often less expensive than buying a regular eyeshadow off of the shelf and are usually the same amount of product. So, you will save money buy only buying “refill” eyeshadows in the future.
*If you are curious about what makeup products I use for both myself and clients, check out In My Makeup Kit.
*Most of the leftover plastic pots will have to be trashed. If you can think of a clever use for them, then hit me up in the comments below! But definitely don’t trash any old MAC Cosmetics eyeshadow containers. They can be recycled at MAC locations as part of their Back to MAC program. Once you have six containers, you can receive a free lipstick of your choice, pretty sweet!
I hope these tips help! If you liked this post, I would love it if you would share it with your friends below. Makeup questions? Ask me at my Facebook Page!